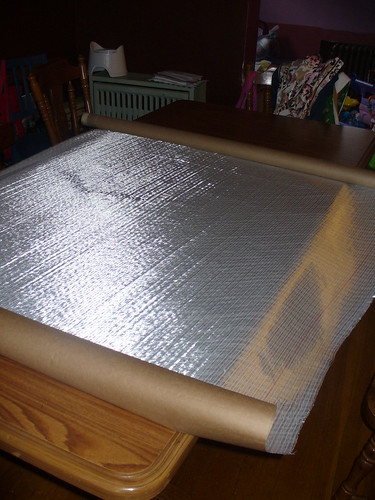
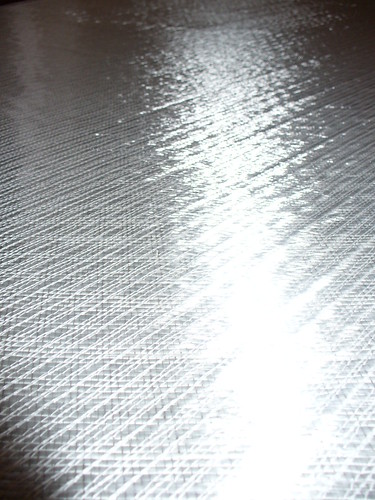
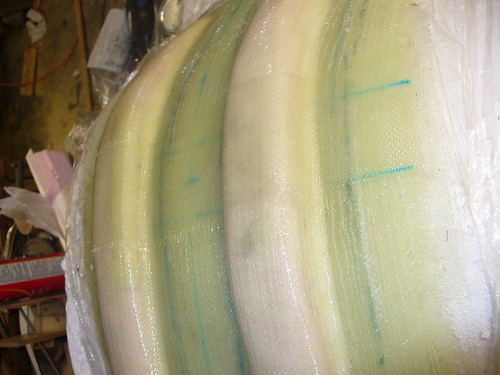
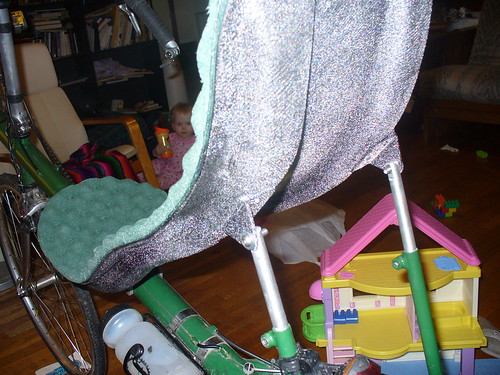
It does drape reasonably well for such a heavy fabric which is nice. It still took a lot of work though to get it wet out and to lay well into all the compound curves on the back of the seat. This is a process that I think would be better done with a vacuum bag. I probably have 2-4 ounces of extra epoxy in the seat that wouldn't be there if I had a way to compress the material. The finished surface is fairly rough due to the stitching that holds it all together. Using it on a finished mold surface would also be preferable. Having said that I am impressed with this material.

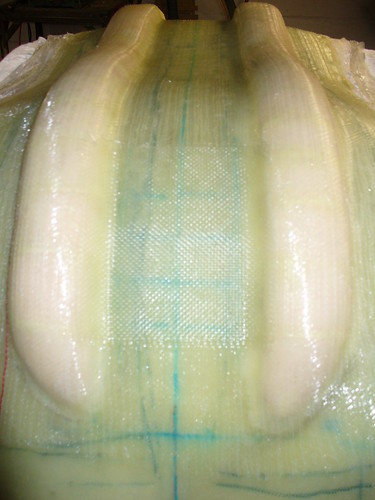
The next step was to apply a couple pieces of reinforcement where the seat mounts would be. In retrospect I think this was totally unnecessary as the finished material is so sturdy. Better to overbuild than have something fail I suppose, particularly since this is really my first experience with the material. (I've prototyped a few ideas in the past with glass, but never followed through with anything)
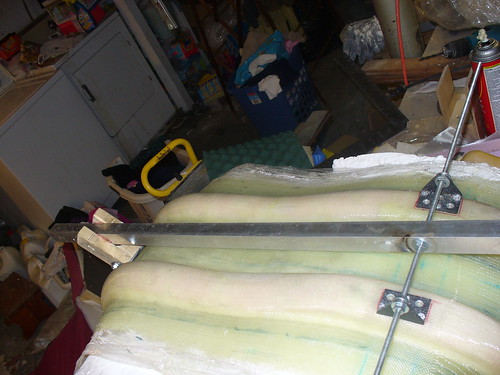
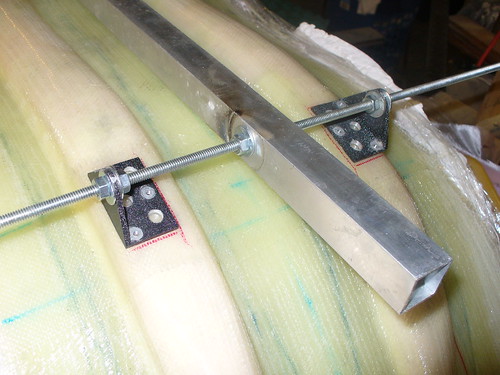
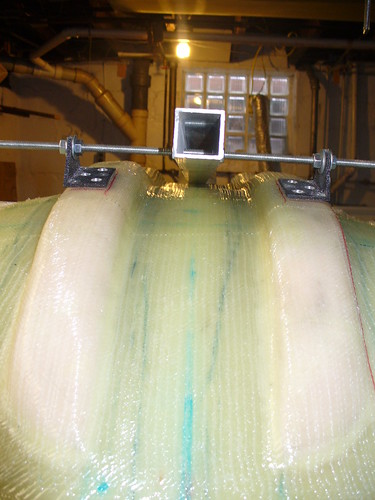
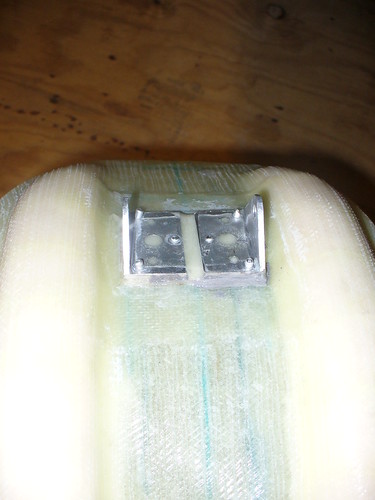
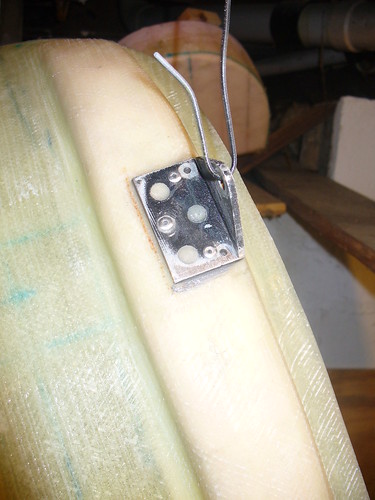
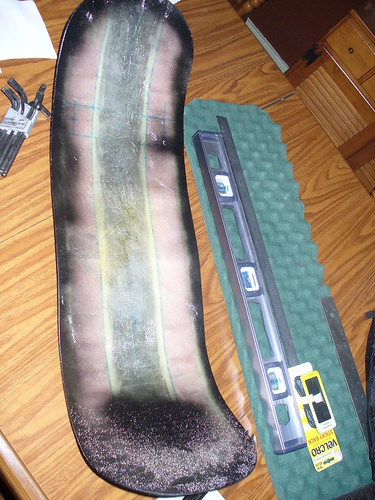
So the question that plagued me at this point was, how do you accurately mount the seat mount hardware on a surface that curves in all directions. What I came up with was mounting the upper mounts on a threaded rod that is held perpendicular to a piece of square channel AL. The aluminum runs up the centerline of the seat (by eye). And the lower seat mounts are bolted to a block of wood the exact width that the plates are when mounted to the bike, with a cutout for the AL channel. The wood was all cut on the milling machine to ensure accuracy though good skill with a table saw and drill press would have worked fine too. I think the pictures explain it better than I just did. To actually attach the mounts, I used epoxy mixed with milled glass fibers to make a thick paste. I wet sanded (with plain epoxy) the aluminum first to ensure a good bond. I needed a lot of gap filling for the lower mounts since the seat curves so much there. Once that set up I riveted it as well.

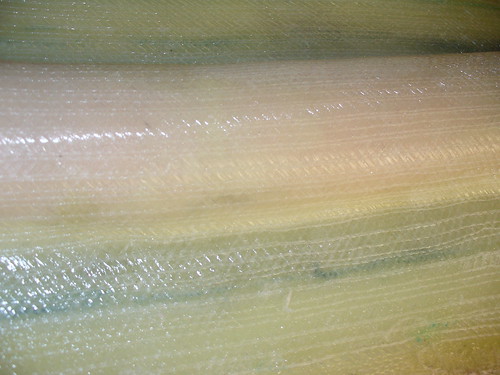
I noticed that the knitted glass wasn't totally laminated in two spots on the inside of the rails. What I should have done was drill some small holes and inject epoxy to fill the space. What I actually did was a comedy of errors. I started by grinding off teh knitted glass layer and replacing it with a few layers of regular glass. This was a pain. The following morning I decided it wasn't curing fast enough so I put a hot light on it to speed things up. This worked... a little too well. I proceeded to discolor the epoxy pretty badly. Oh well. It's cured now and it seems strong. I'll just have to live with it. Lessons learned.

Later that day I added the rivets to the now complete seat mounts, and trimmed the seat to width (24cm). I then mounted it on the bike for the first time and sat it to determine where the lower edge should stop. I want to make the total length and shape one of the standard sizes of ventisit pads in the hope of ordering one this summer.
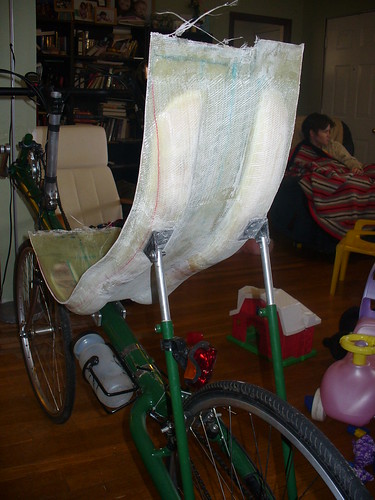
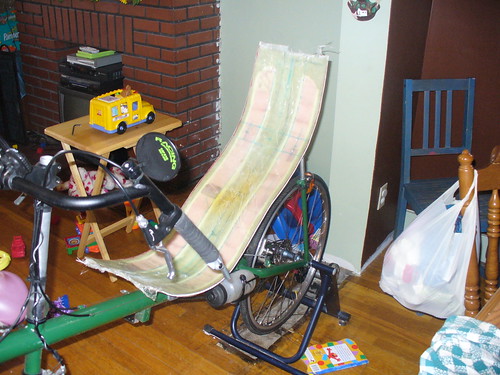
I then trimmed and sanded, and sanded... and sanded ... etc... the seat. A coat of a basic gloss black spray paint later plus some reflective paint on the top half of the seat and I was done! Well, I also had to cut a new seat pad.


No comments:
Post a Comment