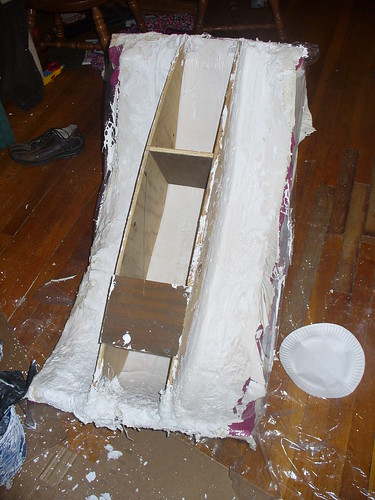
After that I took the whole assembly downstairs (much to the relief of my sainted wife) and flipped it onto the workbench. I added 3 or 4 (I can't remember, I think 3) more layers of burlap and plaster onto the back of the seat. I am using the mold as a male mold and so I need to account for some amount of seat pad thickness. 6 layers of burlap plus the finishing coats gives me about 1/2" of thickness. I figure this is a reasonable number once you factor in foam compression on the pad. In any case it should get me close enough it won't matter.
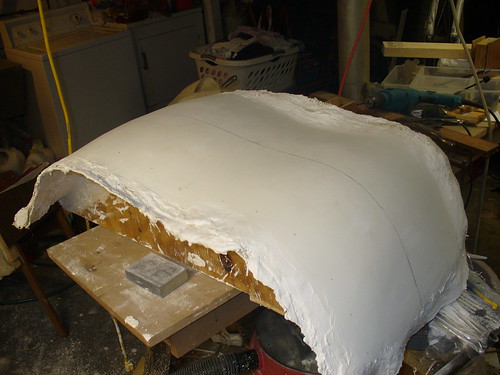
After the plaster set up overnight, I went back and started adding layers of drywall compound. I was both smoothing and evening the seat out. There were some odd low-spots and a slight twist to the whole thing which I attempted to correct with successive coats of the compound. The drywall compound is MUCH easier to work with than the plaster for smoothing coats. It stays nice and easy to work for a long time and lets you work at a relaxed pace. Unlike the plaster which is rather frantic. It's actually a very enjoyable process. I was in the throes of a nasty sinus infection while doing most of the drywall compound and I found it quite therapeutic to head down there and sculpt for an hour or so. The other nice thing about the DC over plaster is how easily it sands. I was able to get a very smooth finish very quickly. The drawback to DC is how slowly it sets. The plaster sets up in about an hour. The DC overnight. So it took several days to finish this step.

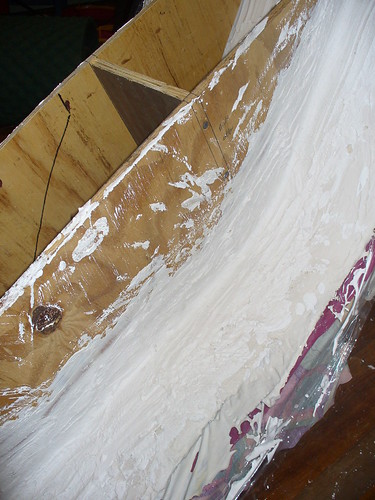
The last step before applying the glass was to mark a centerline. This was rather harder than I thought it would be. I didn't have the foresight to mark my spine location while the mold was still wet and I was actually sitting in the thing. So instead I just used a piece of string weighted at the ends and laid over the mold and moved it around until it visually looked like it was centered. It's not perfect, but it should be fine.
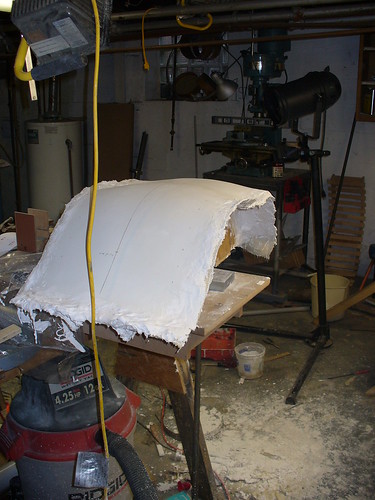
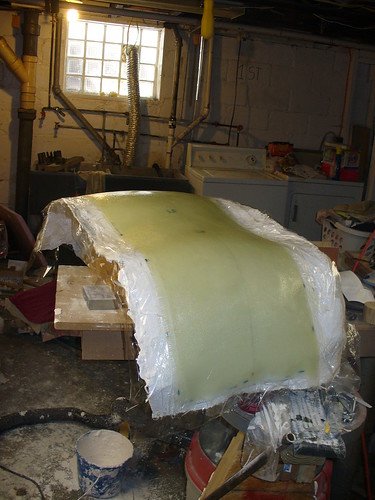
To apply the glass I started by measuring and cutting out pieces that were about 38"x13". The finished seat length will be somewhere around 35" and the width about 10", so this gives me a bit of wiggle room. I then covered the mold with plastic wrap. In retrospect I should have waxed it and used it directly since the plastic wrap slides around a bunch and is a bit of a pain, but that would have taken a lot longer. For the first layer of glass I weighed it and found it was about 100g. So I mixed 95g of resin with 25g of hardener (100:27 mix for my particular epoxy). I then laid out the glass and carefully applied the resin by pouring it on and brushing with a disposable brush. I applied each successive layer (total of 4) by applying it directly over the previous layer while wet, pressing it in by hand, and brushing more resin on to soak. In all I mixed a total of about 310g of resin and applied about 385g of glass. That's actually a little less resin than I'd ordinarily expect, but it looks good so I'm not concerned about it.


The next step is to build the stiffening ribs on the back of the seat. I'm still figuring out how to do this, so stay tuned.

No comments:
Post a Comment