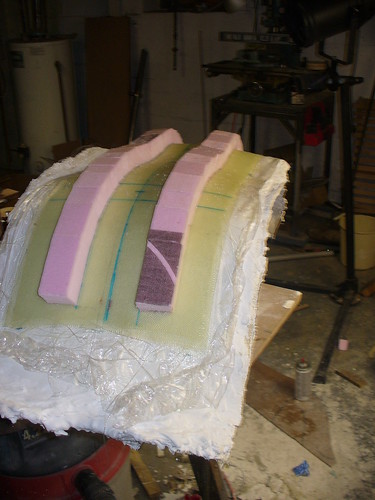
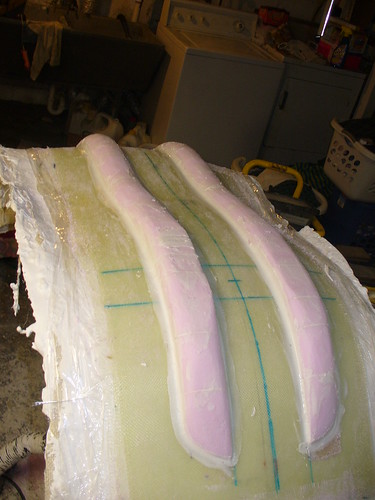
From that line I marked out the edges of the ribs by marking out lines parallel to the centerline. I think the ribs are something like 6cm from center but I can't remember and I'm not running downstairs to measure right now. One of the things about my design is that the seat stay mounts have to go on the ribs rather than between them. To accommodate this I am going to leave flat sections on the ribs at those spots and the bulk them up with several layers of glass.
To create the ribs I ended up using blocks of pink foam cut and spray-mounted to the back of the seat. I started by ripping strips that were 2" wide by 1.5" tall. I then applied them by mitering them by hand and mounting them 1 x 1.
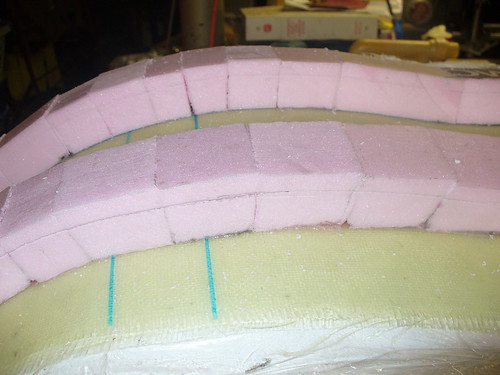
The next step in shaping them was to use a compass to scribe a line on both sides 1" high. I then used a hacksaw blade to trim the height to this line. I then shaped the foam as best I could using a surform plane and sand paper to a nice round cross section with tapered ends. The spray mount didn't work real well for this BTW, the blocks kept falling off and generally being a pain. If I do this again, I'm going to use epoxy or possibly just spray foam.
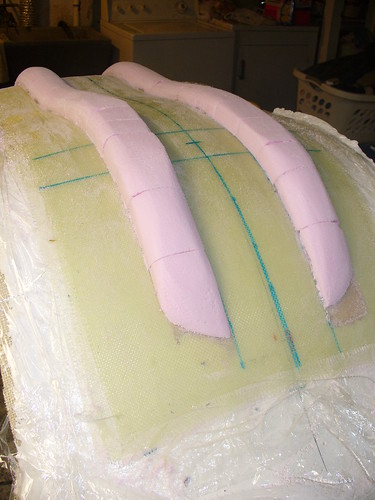

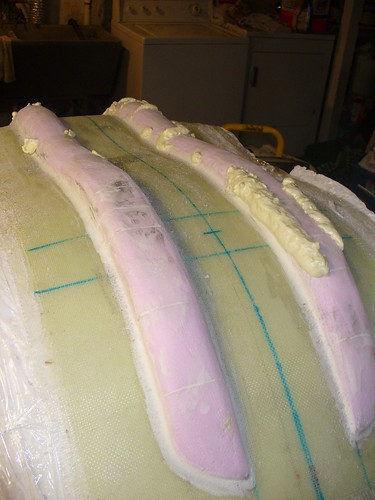
I then mixed up some fairing compound using glass bubbles and epoxy and used that to glue down any particularly recalcitrant blocks, fillet the join to the seat, and fill any gaps between blocks. This also didn't work as well as I'd have liked. It was difficult to put it where I wanted it and get it smooth. In the end its OK but not great. Also something I'd do differently next time.
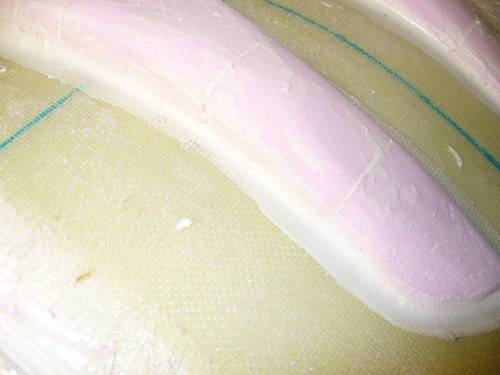
I came back the next day when the filler set up and tried to smooth out the nasty bits using the surform, files, sandpaper, and various dremel attachments. In the end I found the wire wheel on the dremel to give the best control, but it was a pain and ate up the foam if I wasn't really careful. I did mess up a few spots, so I used spray foam to back fill them and then cut and smoothed it out. This worked reasonably well. The spray foam isn't totally consistent throughout, so there are some bubbly bits, but it's good enough to keep the glass in place. Finally a technique that shows some promise!

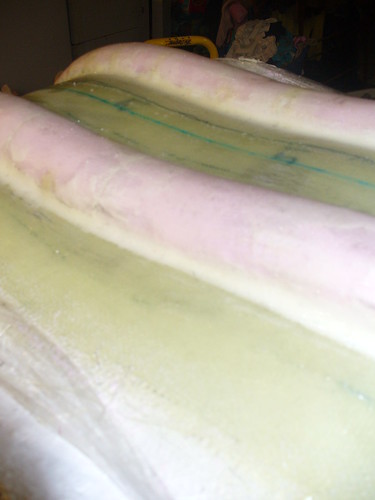
While the spray foam was setting, prior to trimming it, I cut up some fiberglass. I cut 4.5" wide strips to cover the ribs from a lighter glass (5oz I think). I also cut them on a 45deg bias to allow it to drape better. I cut a total of 6 strips, but I was only able to apply one layer tonight because I ran out of epoxy. Darn. I ordered some this morning expecting this to be a problem, but I won't have it till Thurs or Friday, so I'm stuck till then. Still, things are progressing. I discovered that the bottom of my epoxy container contains a lot of semi-hard gunk. I'm a little worried that the stuff might not be 100% good, so it's probably good that I'm getting new stuff. It seems to have hardened ok so I'm keeping my fingers crossed and we'll see how it goes.


No comments:
Post a Comment