

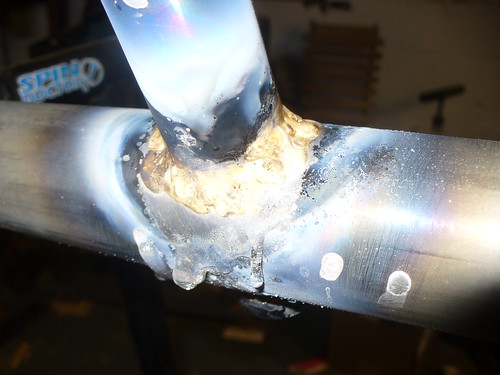
The thing I need the most work on is brazing. The joints are turning out ok, but not stellar. I roasted the headtube a bit. Note the charred flux. I'm pretty happy with the rear dropout brazing actually. I got really good penetration. I ran a larger tip on the torch and that helped quite a bit. I definitely ran it hotter than the previous joints, but it went MUCH faster, so I'm satisfied with the results. I'm not worried about the HT brazing since it's such an inherently strong configuration. I probably could have tacked it and it would have been more than strong enough.
I had a really cool setup for aligning and brazing the rear dropouts but the camera batteries were dead that day so I didn't get any photos. The Breezer dropouts I used were harder to use than I had thought. They look like they are cylindrical in cross section but they are actually slightly conical. I fitted them by clamping both legs to a board so that the ends were close together and filing them evenly. But I had to do a lot of dremel work to fit the conical section of the dropouts.

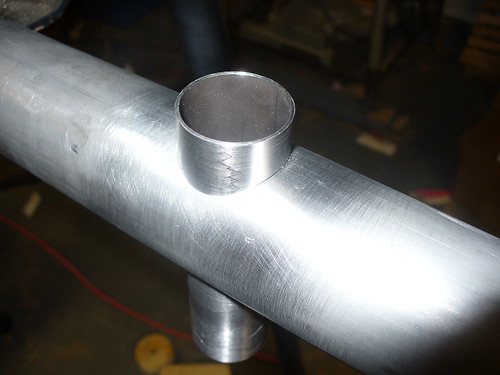
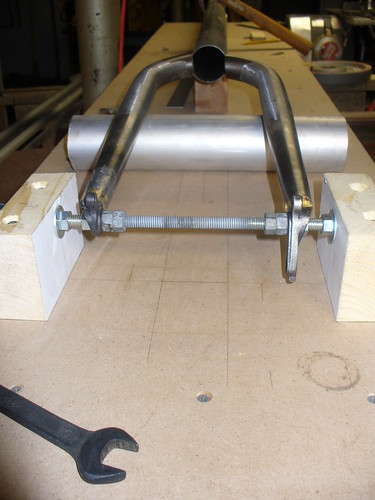
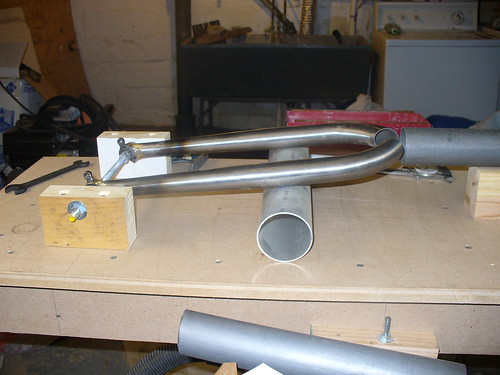
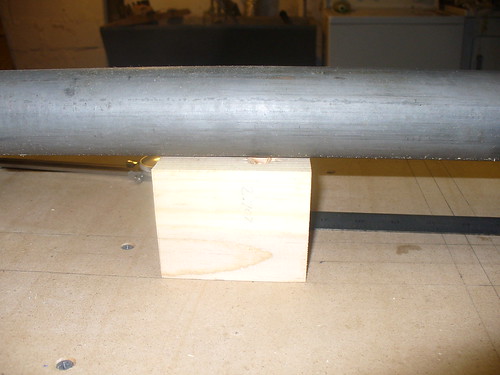
To align the rearfork, I first made a false axle supported between two wood blocks. I used a 3/8" rod for the false axle and carefully aligned it perpendicular to the maintube with the fixed nuts set at 135mm apart. I then made wood offset blocks to hold up the maintube at a fixed dimension (2.707") above the plane of the jig. I used a scrap of 2.5" AL tubing to center the ends of the rearfork on the maintube. To miter them, I'm going to use either a laser or just a pencil to scribe around the maintube onto the rearfork arms. I'll need to mount the maintube temporarily behind the rearfork connection to scribe the back. I still need to clamp everything in place. These pics are just a preliminary fit.
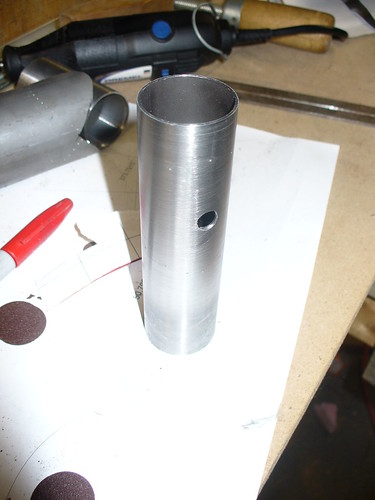
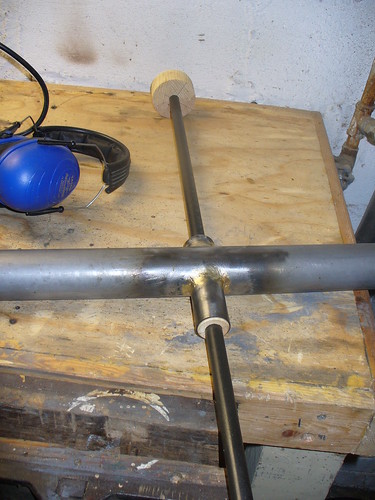
I should explain the piece of 5/8" tube running through the headtube. It's held in place with press-fit wood spacers that I turned on the metal-lathe to keep it centered. The cylinder on the end is turned to the same diameter as the width of the BB shell. I will also turn one that is 2" diameter the same as the maintube. By mounting this and then squaring it to the jig, I can ensure that the headtube is perpendicular to the rearfork within good tolerances. I can also use the 68mm one to ensure that the BB is square. I'll post more pics of the technique as I get to it.

No comments:
Post a Comment