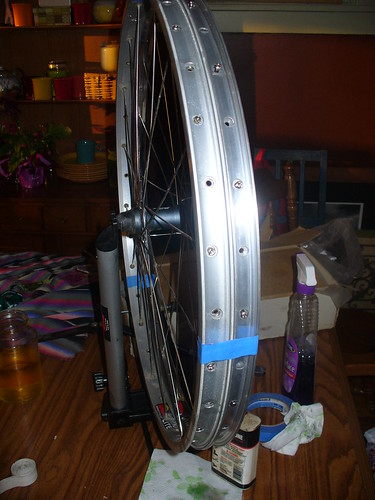
To make the swap, first I removed the casette. This is optional but I'm replacing it too, so it's just easier to do at the beginning. Next I took the new rim and taped it next to the old one with a few wraps of masking tape. I aligned the valve holes and made sure the spoke offsets were going the correct way. I then loosened all the spokes on the side with the new rim and moved them over one by one. I cleaned the spokes and lubed the nipples as I did this. I then went to the other side and started moving spokes over. Start by moving all the spokes that are crossed to the inside of the wheel, then doing the ones to the outside. As I moved the spokes I tightened the nipples so that there was about 2mm of thread showing.
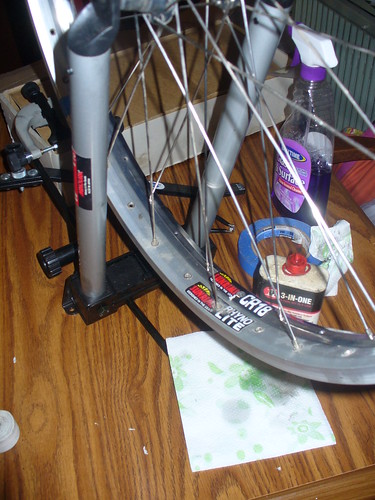
Once all the spokes were moved, I untaped the now free rhynolite rim and set it aside and got to the business of tensioning and truing. I start by tightening all the nipples with a screwdriver so that they just cover the threads. I then went around the wheel tensioning the spokes. I did 2 rounds of 2 turns each for this one. That brought me close to a good tension on this wheel. Before truing I went around and brought all the spokes to even tension by pitch. I then started truing the wheel. I needed to do a fair bit of rounding for this one, the hub was basically off center by about 2 mm. Rounding always takes longer since you need to do up to half the spokes at a time. It also requires more turns to effect a change. I then trued the wheel before checking it for dish. The dish was pretty off (usually is on rear wheels), so I went around tightening the drive side spokes till it was dished properly. I just tightened rather than alternating tightening and loosening to bring the tension higher. I've built quite a few wheels with this rim type so I have a good feel for the tone the spoke should make when it's plucked at the right tension. This one needed to be brought up a little more, so I was favoring tightening.
Once I was happy with the dish, I did a rough truing then stress relieved the spokes by grabbing parallel pairs and squeezing as hard as I could all the way around the wheel a few times. Then I did a finish truing. I put a dial gauge on it, and I'm good within about 0.3mm. Good enough. Lastly I put the new cassette on. It's an 8 sp SRAM 11-28.
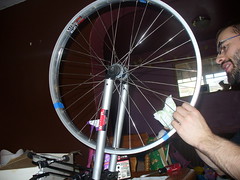
All told it took a couple hours working at a relaxed pace and explaining to my 7yo what I was doing.


2 comments:
She actually did a pretty decent job helping take the pictures!
She did. I think half the ones there I took and the others are her.
We need to teach her about holding the camera level tho. There were several that were otherwise good shots that I rejected because they were inexplicably at 45 degrees.
Post a Comment